Awhile back I found this pattern for a cute hooked Hearts Afghan and pulled out my red yarn, creating one of the squares. I knew that I didn't want to create a full-sized blanket out of the pattern, so I tucked the square aside until the "right project" popped into my mind. So yesterday I pulled out all my bits & bobs of yarn colors and tackled that "right project"!
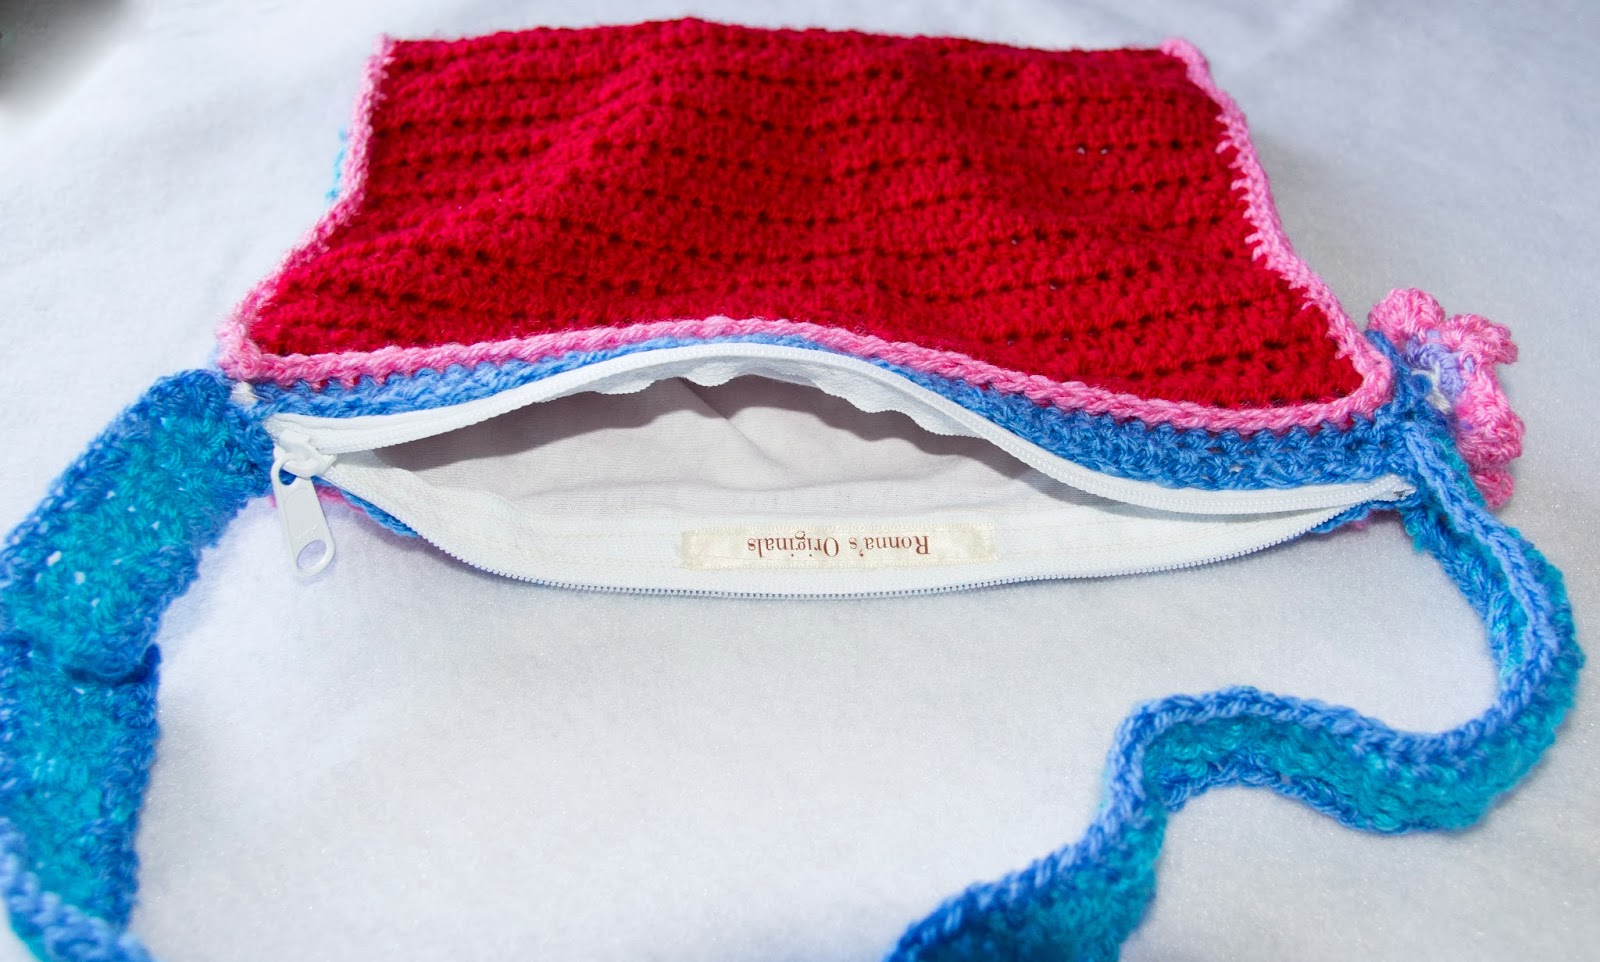
I made a fully-lined with a zipper and everything bag for our youngest niece!
The ubber cuteness almost got to me ;)
but I love how cheery and bright it turned out!
My Girls Hooked Bag Tutorial O' Sorts:
I took my red heart square, sl st my red yarn into the bottom corner (red puffy heart/right side up!) hook 1 row sc, 4 rows dc, 1 row sc. (This is the base rows of the bottom of the bag). Next continue on hooking the back of the bag with 30 rows of hdc's. (When near the end I count to make sure the front and back are even!)
There you have it, a front/base/back of the bag.
I started this in the evening thus the darker photos, but you can get the idea!
Next I picked out a cornflower blue shade to create the bag strap.
I created it 4 dc's wide and 24 inches long.
Now to attach the strap to the bag.
I knew that I wanted the bubblegum pink as a trim
so I used this as my yarn to piece it together.
SLST into the bottom corner of the base, then sc around
(4 sc's for the base bottom, adding an extra 2 sc's in each of the corners, and continuing up the side of the bag front.)
Once you are at the top corner,
continue with sc's across the top of the bag.
Continue down the other side, attaching the strap
and making sure you don't have the handle twisted!
I pinned it to the base bottom of the opposite side
so I knew exactly where it would meet at the top right of the bag.
Keep attaching the handle to the bag with sc's around,
up the other side of the handle and back of bag.
SLST to beginning sc.
Next I created a zipper placket for the top of the bag.
SLST your color onto the top corner, sc in same sp.
Then hdc around in each stitch, with 4 hdc's in each end.
It ends up looking like a long rectangle box.
Now do any trims or designs to your bag that you would like. Doing it now keeps all the ends inside the bag
and not a hassle later after your lining is inside!
I took white yarn and created cross-stitch pattern around the heart.
And a row of slst border around the heart in lavender. I also took a sky blue and trimmed the handle with sc's.
This is what it looks like when finished:
Now you have a nice placket to attach your zipper to,
making it all pretty and hidden!
Next take out your lining material.
I used basic white cotton and a large white zipper.
Make this as you would any bag or bag lining.
(There are lots of tutorials out there if you need help! Some day I promise I will get to making a tut on a basic bags!)
So just remember, you want the inside of this bag lining to be "pretty seams" and the outside is okay showing seam ends as it will be inside the hooked bag.
I squared off the bottoms of the lining, and added my label to the inside of the zipper lining.
Next slide your lining inside of the hooked bag and pin in place. Hand sew it to the top of the blue rows of hdc's all the way around, giving it some extra attention at each end. Make sure you keep your hdc's below the zipper line so it won't get stuck inside the zipper when using!
Next add on any trims you would like.
I made a basic flower and added a hooked heart to it's center.
And all done! I love how cutsie and girly it turned out!